2. Getting started
This chapter takes you from your first time opening the app right up to the point where you have a workspace ready and can start working.
There are two typical ways you reach GeoMarkup for the first time:
- Someone invited you to collaborate — you got an email invitation. Jump to Accepting an invitation.
- You’re signing up on your own — you log in and create your own first workspace. Go to Signing in and then Creating your first workspace.
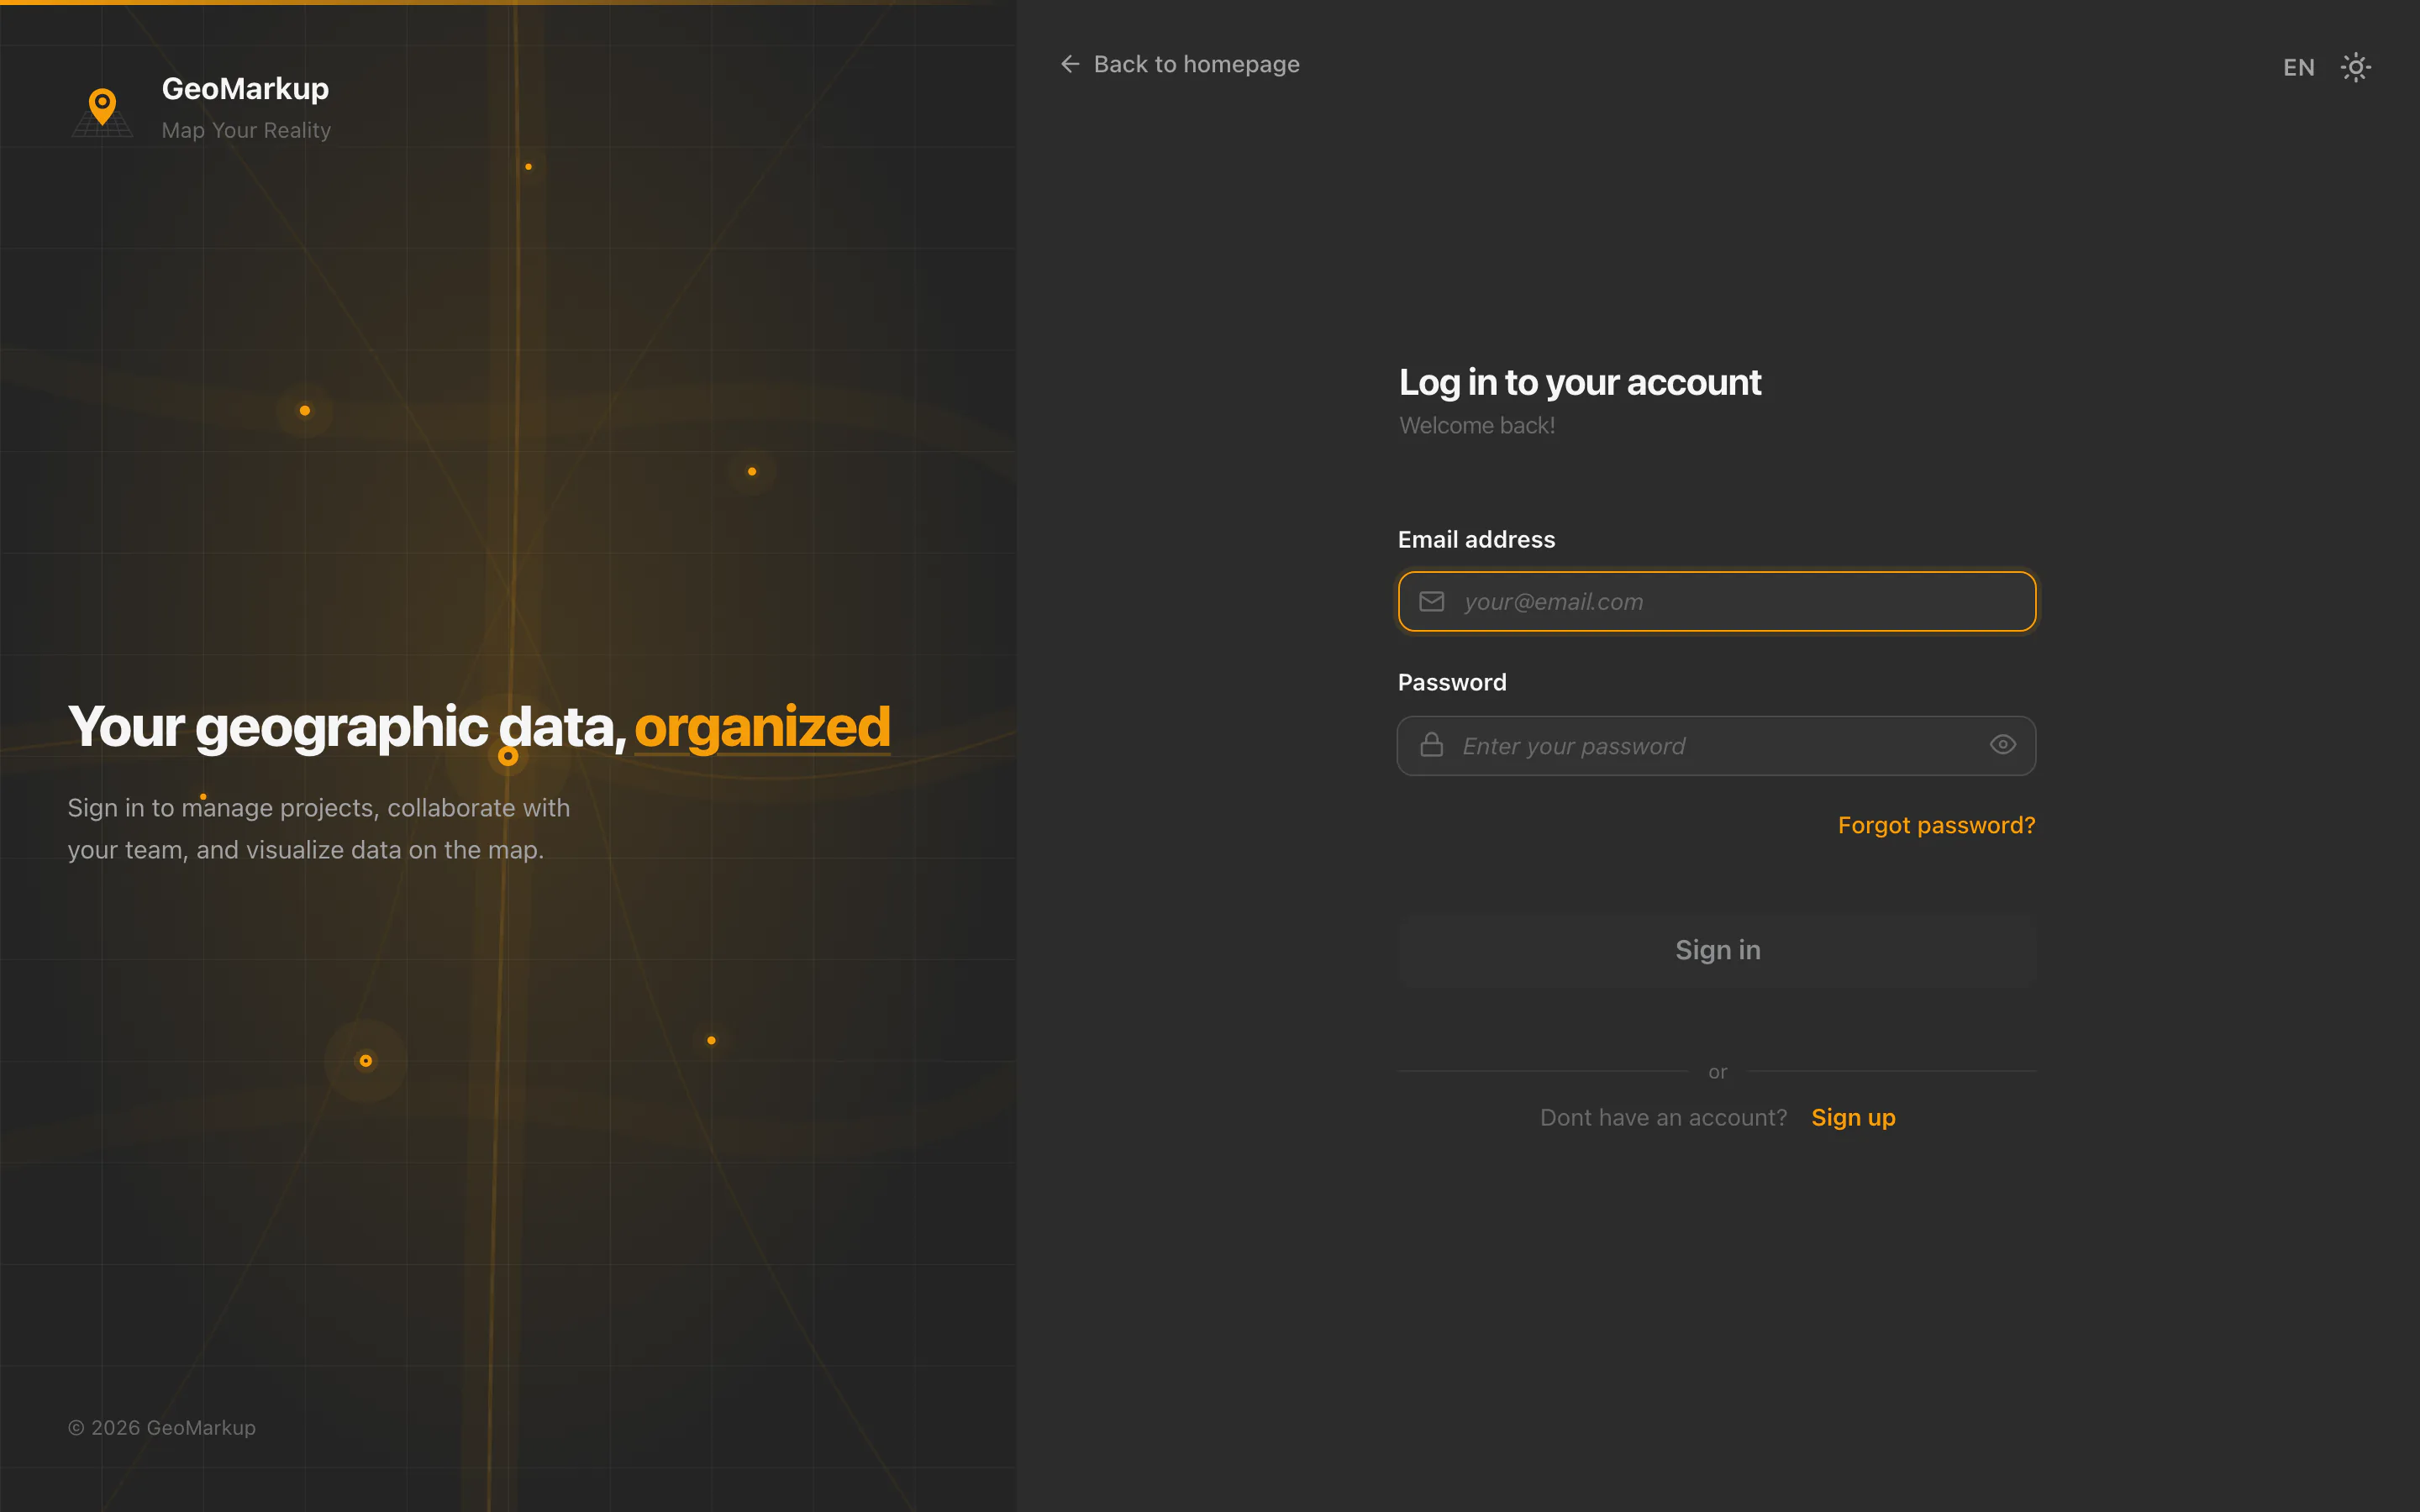
Signing in
GeoMarkup uses a secure, external sign-in system. This means you enter your credentials (email and password) on a separate, secured screen rather than directly in the app.
How to sign in:
- Open the app’s address in your browser.
- If you’re not signed in yet, you’ll briefly see “Checking authorization…”, after which the app automatically takes you to the sign-in screen.
- On the sign-in screen, enter your email and password, then confirm.
- After a successful sign-in you’ll see “Completing sign in…” and return to the app.
The sign-in screen also handles creating a new account and recovering a forgotten password — you’ll find the relevant links there. See Recovering a forgotten password.
What happens when your session expires
If you don’t use the app for a long time, your session may expire for security reasons. A dialog then appears:
- Title: “Session Expired”
- Message: “Your session has expired. Please log in again to continue.”
- Button: “Log in again”
Click the button and sign in again — you’ll return to where you were.
Accepting an invitation
If a teammate invited you to their workspace, you’ll receive an email with an invitation link. Clicking the link opens the invitation page in your browser.
Remember: an invitation link is valid for 7 days. After that, ask the person who invited you to send a new one.
Step 1: Review the invitation details
On the invitation page you’ll see:
- the name of the workspace you’re being invited to,
- who is inviting you and how many members the team has,
- your role (e.g. Admin, Editor or Viewer — see Roles and permissions),
- the email address the invitation was sent to.
You have two buttons to choose from:
- “Accept invitation” — you accept and join the team,
- “Decline invitation” — you decline.
If you’re not signed in yet, clicking a button takes you to the sign-in screen. There you sign in (if you already have an account) or create a new one — see Step 2.
Step 2: Create an account (if you don’t have one yet)
To accept an invitation you need an account. If this is your first time with GeoMarkup, create one in a few steps:
- After clicking “Accept invitation” you’re taken to the sign-in screen.
- On the sign-in screen, click “Register”.
- Fill in the registration form (email and password, among others) and confirm it.
- Confirm your account — an email with an activation link will arrive at the address you gave. Click it to activate your account.
If you already have an account, simply sign in on the sign-in screen — you skip this step and join the workspace right away.
Step 3: Done!
After creating (and confirming) your account or signing in, you’ll see a notice that you’ve joined the workspace — a “Welcome to the team!” screen with a “Go to dashboard” button. Click it to enter the workspace.
If something went wrong
Sometimes an invitation won’t work. The most common cases:
| Message | What it means and what to do |
|---|---|
| ”Invitation not found” | The link is invalid or has been removed. Ask for a new invitation. |
| ”Invitation expired” | More than 7 days have passed. Ask an admin for a new link. |
| ”Invitation already accepted” | The link has already been used. |
| ”Invitation cancelled” | An admin withdrew the invitation. |
| ”Email mismatch” | The invitation was sent to a different address than the one you’re signed in with. Sign out (“Logout”) and sign in with the right account. |
| ”Already a member” | You already belong to this workspace — just open the app. |
| ”Connection error” | No connection to the server. Click “Try again”. |
Creating your first workspace
When you sign in for the first time and don’t belong to any workspace yet, the app automatically shows the screen for creating your first workspace (greeting: “Welcome to GeoMarkup!”).
A workspace is your space for projects and team collaboration. You can create more later — see Workspaces.
How to create a workspace:
- In the “Workspace Name” field, enter a name (e.g. “Road inspections 2026”). The name is required and must be at least 2 characters.
- In the “Description” field (optional) you can briefly describe what the workspace is for.
- Optionally, in the “Invite Team Members” section you can add the email addresses of people you want to invite right away. You can skip this step and invite them later.
- Click “Create Workspace”.
You don’t have to pick a colour or upload a logo — the workspace automatically gets a coloured icon with the first letter of its name.
The welcome screen appears only the first time you sign in (when you don’t have any workspace yet). The create-workspace form looks almost identical to the “New Workspace” dialog — see Workspaces.
Done
After creating the workspace you’ll see a confirmation screen “Workspace created!” with two buttons:
- “Enter workspace” — opens the map with tasks,
- “Go to dashboard” — opens the dashboard summary.
The first time you open a new workspace, GeoMarkup guides you through a one-time Map setup before you reach the map — you choose where the map opens and which backgrounds the team can use. See Map setup.
Choose where you want to start. From now on you can create tasks and notes and invite more people.