8. Team management
In a workspace you can collaborate with other people. This chapter explains the roles, how to invite new members, and how to manage the team and invitations.
Team panel
You open the team panel by clicking the “Team” button (people icon) on the right of the top bar. A panel slides in from the right of the screen.
- If you’re an Admin or the Owner, the panel is titled “Manage team” and lets you invite and manage members.
- If your role is Editor or Viewer, you’ll see “Team members” — a list of people with no management options.
The “Team” button may show the number of people currently online.
Roles and permissions
In a workspace every person has an assigned role that defines what they can do:
| Role | What they can do |
|---|---|
| Admin | Full control: create and edit all tasks, manage the team (invite, change roles, remove members), change workspace settings. |
| Editor | Create and edit their own tasks, add comments, view all content. Cannot manage the team or edit other people’s tasks. |
| Viewer | View only — can see tasks and comments, but creates and changes nothing. |
There is also the workspace Owner — the person who created it. The owner always has admin permissions, and additionally:
- can change workspace settings and delete it,
- cannot be removed from the workspace or have their role changed by anyone.
The owner is marked with a crown icon next to their name in the member list.
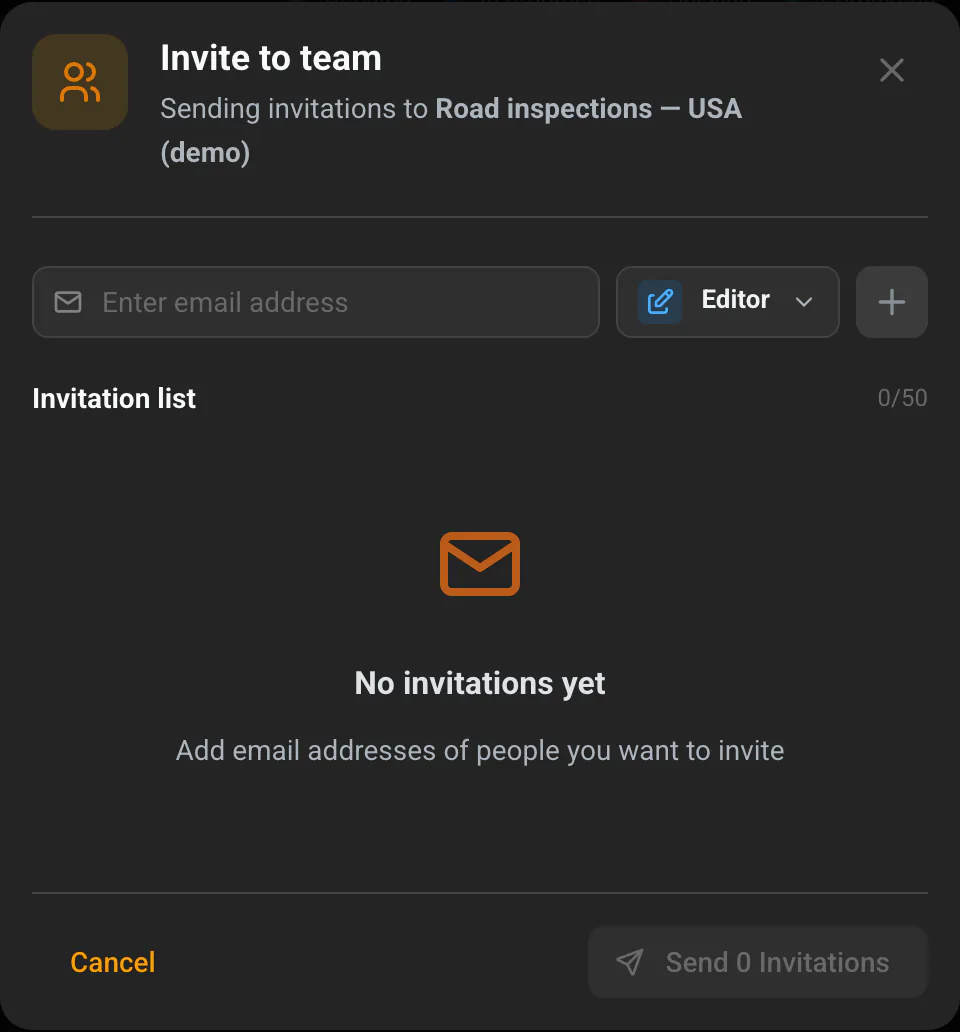
Inviting new people
- Open the “Manage team” panel (the “Team” button in the top bar).
- At the bottom, click “Invite new person” — the “Invite to team” dialog opens.
- In the field, enter the email address of the person you want to invite.
- Next to it, choose their role (Admin / Editor / Viewer — “Editor” by default).
- Click ”+” to add the person to the invitation list. You can add many people at once (up to 50).
- When the list is ready, click “Send invitations”.
Each invited person gets an email with a link valid for 7 days.
You can also invite people while creating a workspace — in the “Invite Team Members” section on the create-workspace screen.
Possible messages while adding:
- “Email address is required” — empty field,
- “Enter a valid email address” — wrong address format,
- “This email is already on the list” — the address is already in the current list.
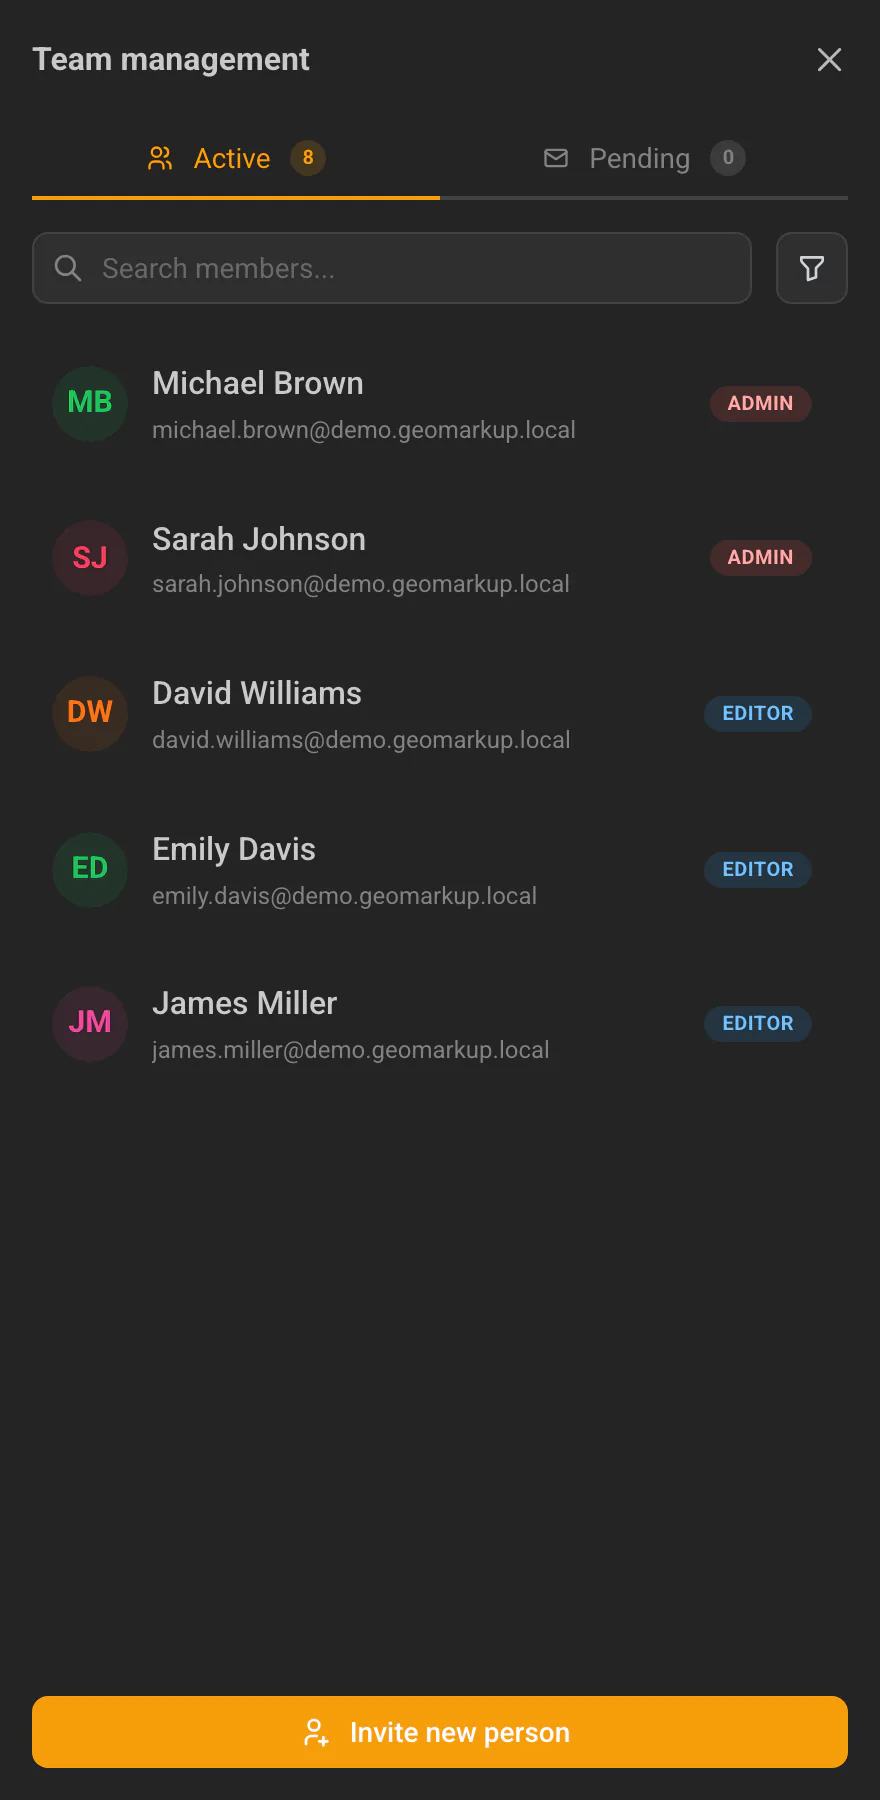
Member list (the “Active” tab)
In the team-management panel, the “Active” tab shows all current members. You can:
- search members by name (the “Search members…” field),
- filter by role (All / Admin / Editor / Viewer).
Each row shows: avatar, online indicator, name, email and role. Your row is marked with a “You” label, and the owner with a crown.
Changing a member’s role
Hover over a member’s row — the role label turns into a dropdown. Pick a new role to change it.
You can’t remove the Admin role from the last admin — a workspace must always have at least one.
Removing a member from the team
- Hover over a member’s row and click the trash icon (on the right).
- A confirmation dialog appears — “Remove Member” — asking “Are you sure you want to remove [name] from this workspace?”. This safeguard prevents accidental removals.
- Click “Remove member” to confirm (or “Cancel” to keep them). Once confirmed, the person is removed from the team.
What happens after removal? The person disappears from the active member list, but the tasks that were assigned to them do not disappear. A “(former member)” note appears next to their name, so it’s clear who was originally responsible for a task. If you invite that person again and they accept, they return as a full member (their data and history are preserved).
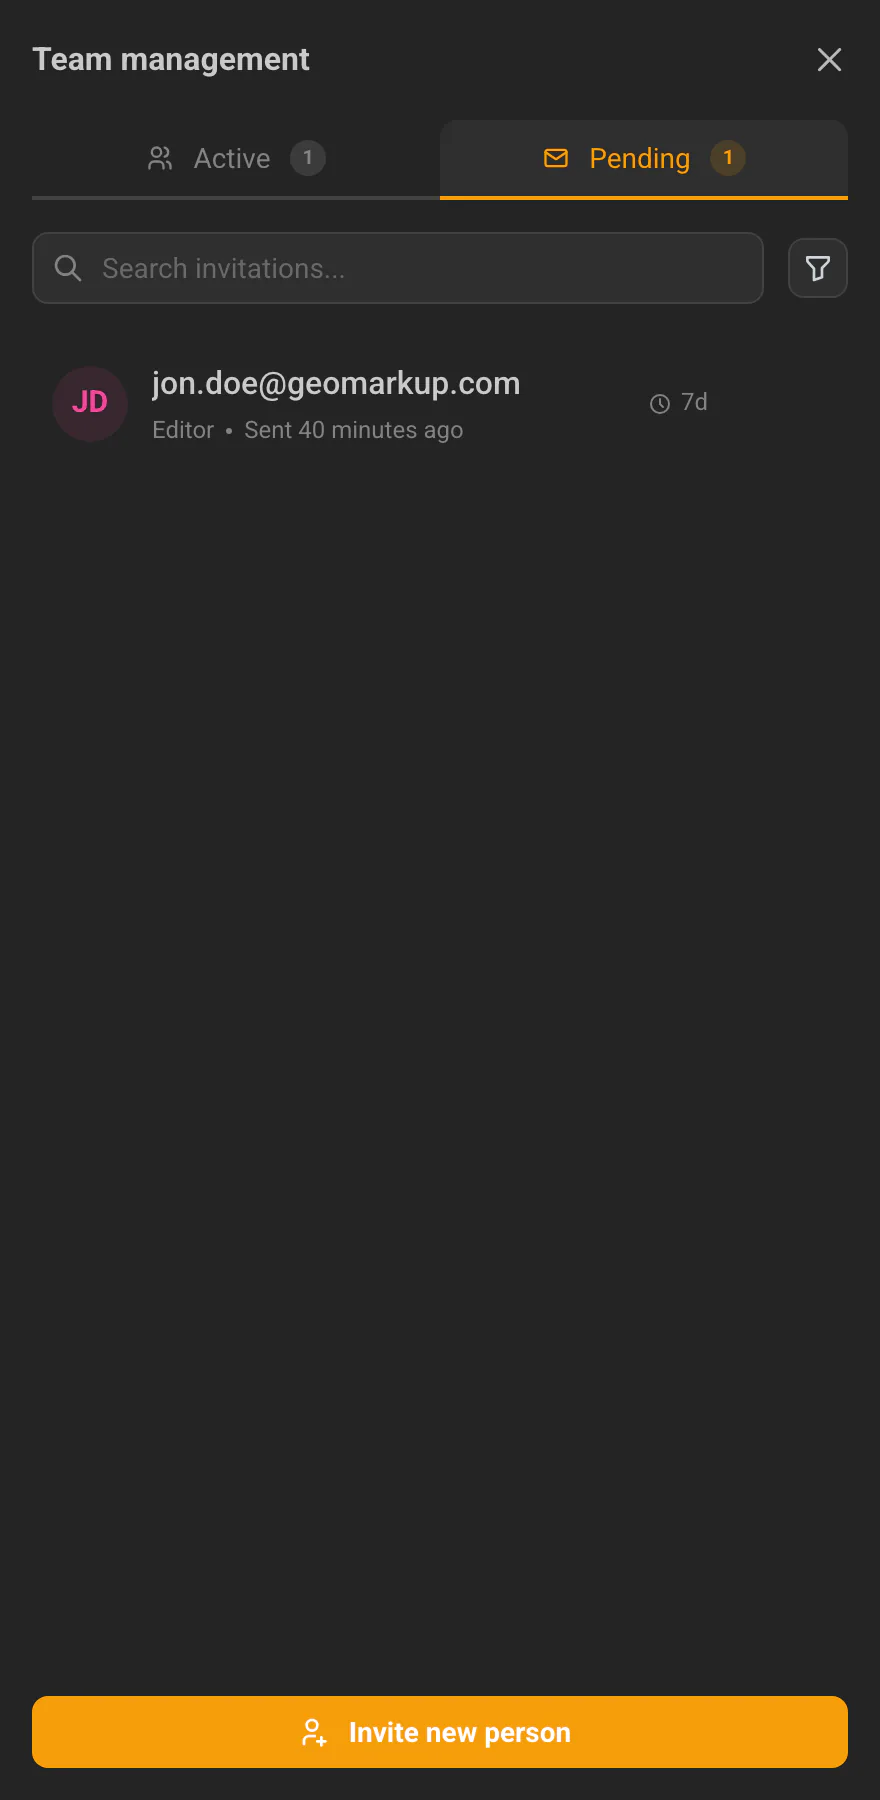
Pending invitations (the “Pending” tab)
The “Pending” tab shows sent invitations that haven’t been accepted yet. You can search and filter them (by role and status: Pending / Expired).
Each invitation shows: email address, role, when it was sent, and how many days are left before it expires. For each one you have two actions:
- “Resend” — sends the invitation again,
- “Cancel invitation” — withdraws it (the link stops working).
Invitation statuses:
| Status | Meaning |
|---|---|
| Pending | Sent, awaiting acceptance. |
| Accepted | The person accepted the invitation and joined. |
| Expired | 7 days have passed — the link no longer works. |
| Cancelled | An admin withdrew the invitation. |