6. Workspaces
A workspace is your space for projects and team collaboration. Each workspace has its own tasks, notes, members and settings. You can belong to several workspaces at once and switch freely between them.
Creating your first workspace is described in the Getting started chapter.
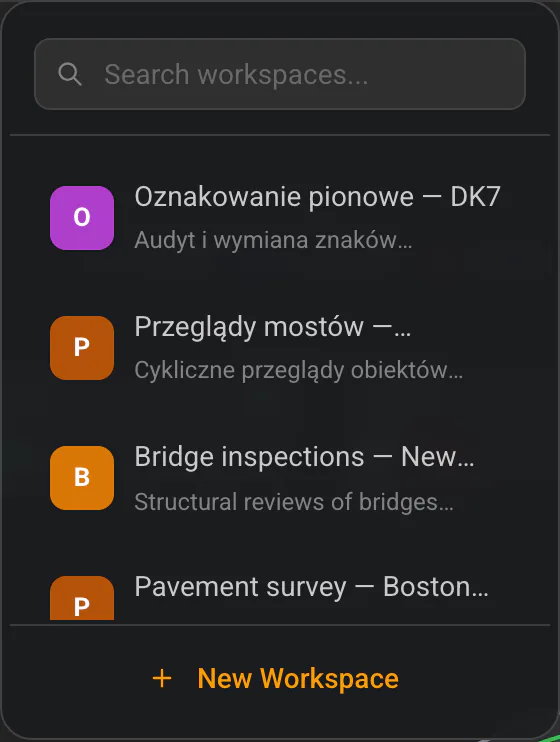
Switching between workspaces
The workspace switcher sits in the centre of the top bar. It shows the coloured icon, name and description of the current workspace.
- Click the switcher — the list of your workspaces expands.
- If you have many, use the “Search workspaces…” field at the top.
- Click a workspace — the app switches to it immediately.
The currently active workspace is highlighted in the list and marked with a tick.
Creating another workspace
- Click the workspace switcher in the top bar.
- At the bottom of the list, click “New Workspace”.
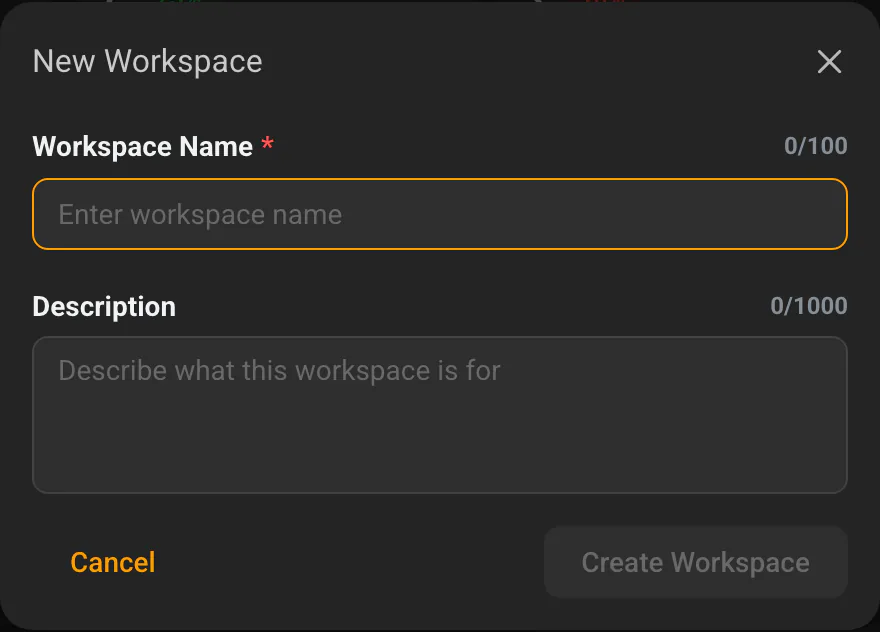
- In the “New Workspace” dialog, fill in:
- Workspace Name (required),
- Description (optional).
- Click “Create Workspace” (or “Cancel” to back out).
You can have as many workspaces as you like — for example a separate one for each project or client.
Workspace settings
To open workspace settings:
- Go to Settings (the gear icon in the side menu).
- Choose the “Workspace” tab.
Available options:
| Setting | Description |
|---|---|
| Workspace name | The name visible to the whole team. Saves automatically. |
| Description | A short description of what the workspace is for. Saves automatically. |
| Automatically start tasks | A toggle. When enabled, tasks with a planned start date automatically change status from Pending to In Progress when that date arrives. |
The “Name” and “Description” fields have autosave — there’s no “Save” button. An indicator “Saving…” / “Saved” appears next to them.
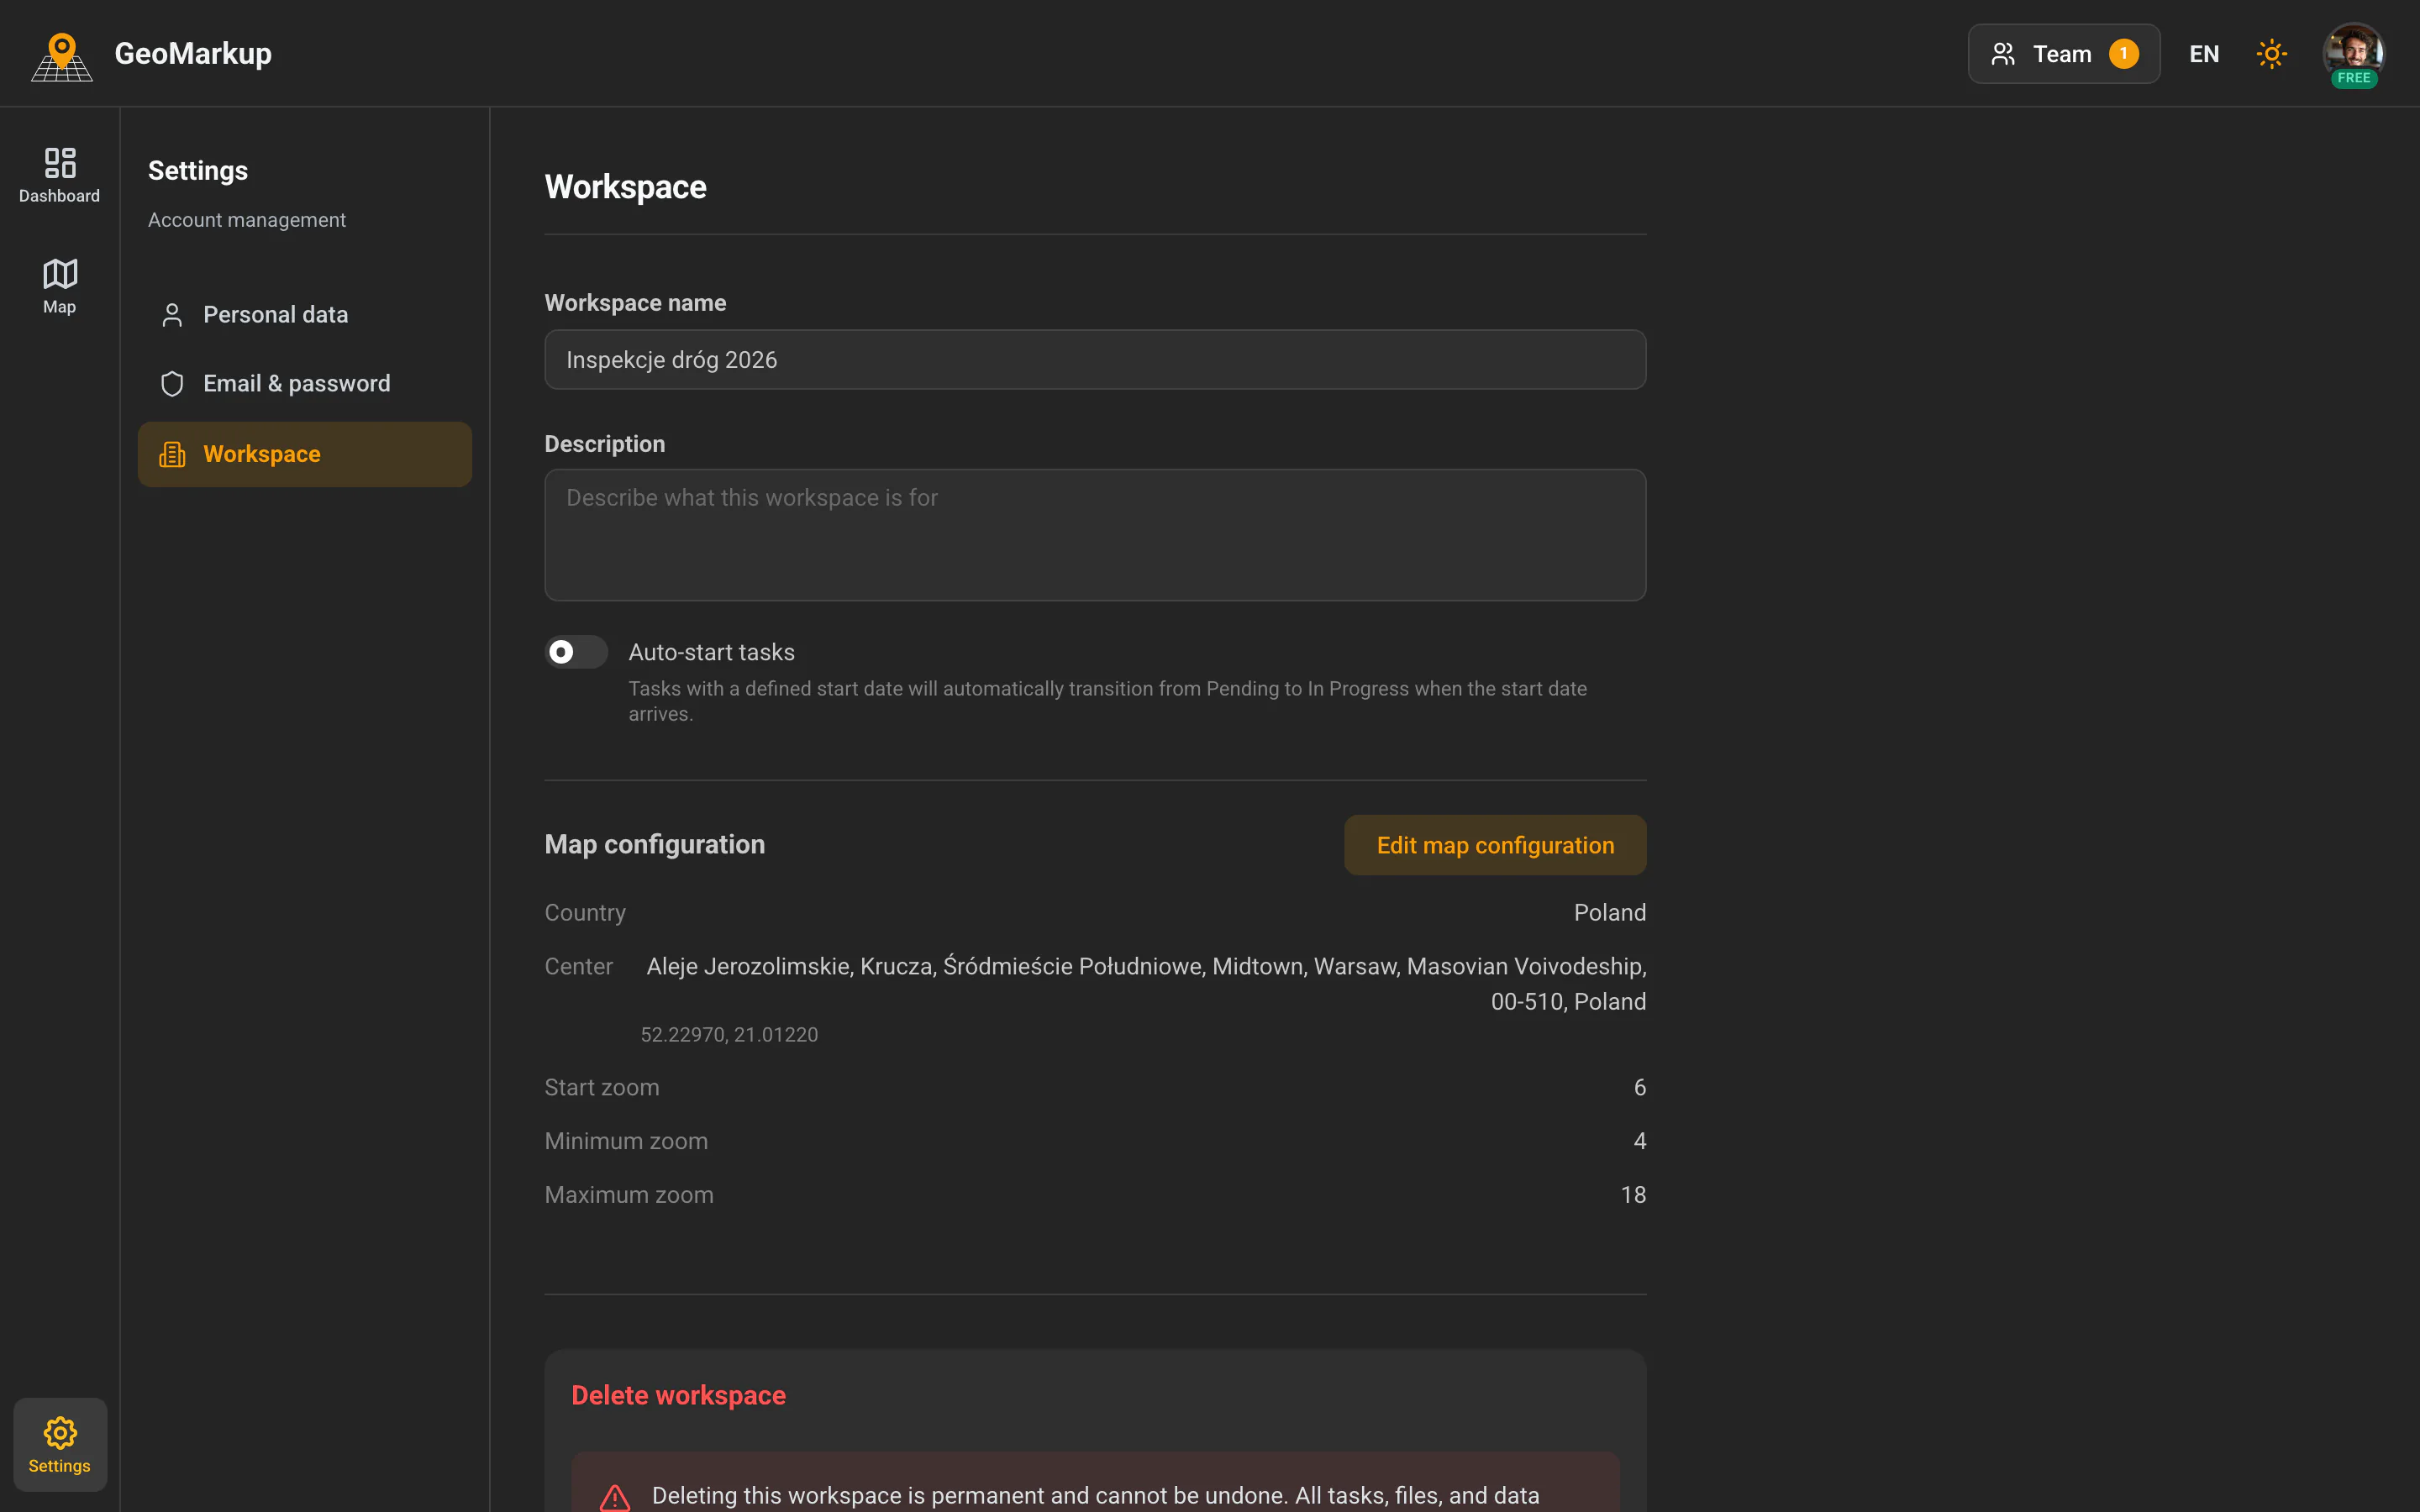
Map configuration
The “Workspace” tab also shows a Map configuration summary — the workspace’s map defaults set in Map setup:
- the country,
- the map centre (place name + coordinates),
- the start, minimum and maximum zoom.
Click “Edit map configuration” to reopen the configurator and change any of these — including the default basemap and which backgrounds are available in the layers menu.
Deleting a workspace
Caution — this can’t be undone! Deleting a workspace permanently removes all of its tasks, files and data. There’s no way to undo it. Only the owner can delete a workspace.
- Go to Settings → “Workspace” and scroll to the “Delete workspace” section.
- Click “Delete this workspace”.
- In the confirmation dialog, type the exact name of the workspace (a safeguard against accidental deletion).
- Once the name matches, the confirm button becomes active — click it to delete the workspace for good.
You must always have at least one workspace — you can’t delete the last one.
Leaving a workspace and removing members
If you want to stop belonging to someone else’s workspace, ask its admin to remove you from the team. How an admin removes members (and what happens then) is described in the Team management chapter.