13. Map sharing
Sometimes you want to show the map to someone outside the team — a contractor, an official, a resident — without creating an account for them or giving them access to the whole workspace. That’s what a shared view is for: a public read-only link to the map. Anyone who opens it sees the artifacts you chose on the map, but changes nothing.
A shared view is always read-only and includes only what you point to — the chosen artifact types, filters, layers and detail fields. The rest of the workspace data stays private.
Opening sharing
Go to the map and, on the bottom map control bar, click “Share map” (the share icon). The “Shared views” panel opens on the right.
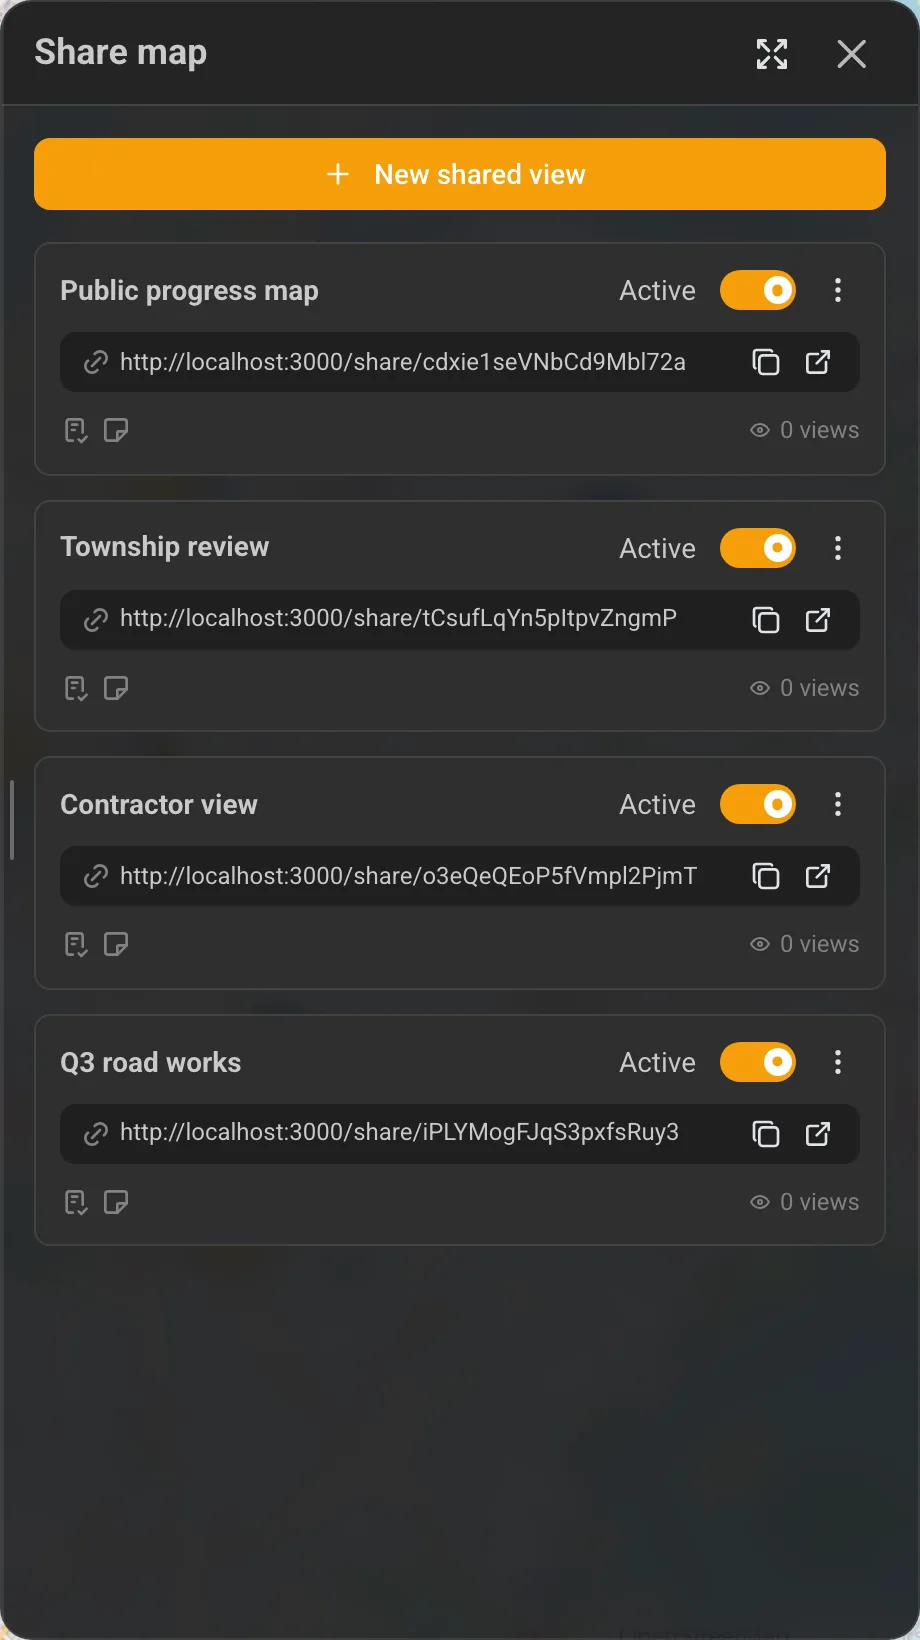
The shared-views panel
The panel is where you manage all of the workspace’s links:
- “New shared view” — creates another link (see below),
- on each link: an Active / Revoked switch, a view counter and a “Password protected” badge (a padlock) when the link requires a password,
- a menu (three dots) with Show embed code, Edit and Delete,
- below the name you see the link address with Copy link and Open shared view buttons.
Revoking (flipping the switch to “Revoked”) invalidates the link immediately — it stops working, but the configuration is kept. You can reactivate it any time with the same switch. Deleting is permanent and cannot be undone.
Creating a shared view
After you click “New shared view” a form with five tabs opens. You can switch between them in any order and click “Create” at the end.
Basics
- Name (required) — helps you recognise the link in the list.
- Description — optional, visible to recipients.
- Require a password — when on, recipients must enter a password (at least 8 characters) before they see the map.
Once saved, this tab also shows the “Share link” and an Embed code (a ready-made iframe snippet).
Artifacts
You choose what to share: Tasks, Notes and Obstructions (at least one type). Each type can be narrowed further with base filters (e.g. status, priority, dates, colours) — the recipient then sees only matching artifacts.
Map layers
Here you decide on the view’s background and layers:
- Allowed basemaps — the base maps the recipient can switch between, and the default basemap,
- the workspace’s visible layers and custom layers,
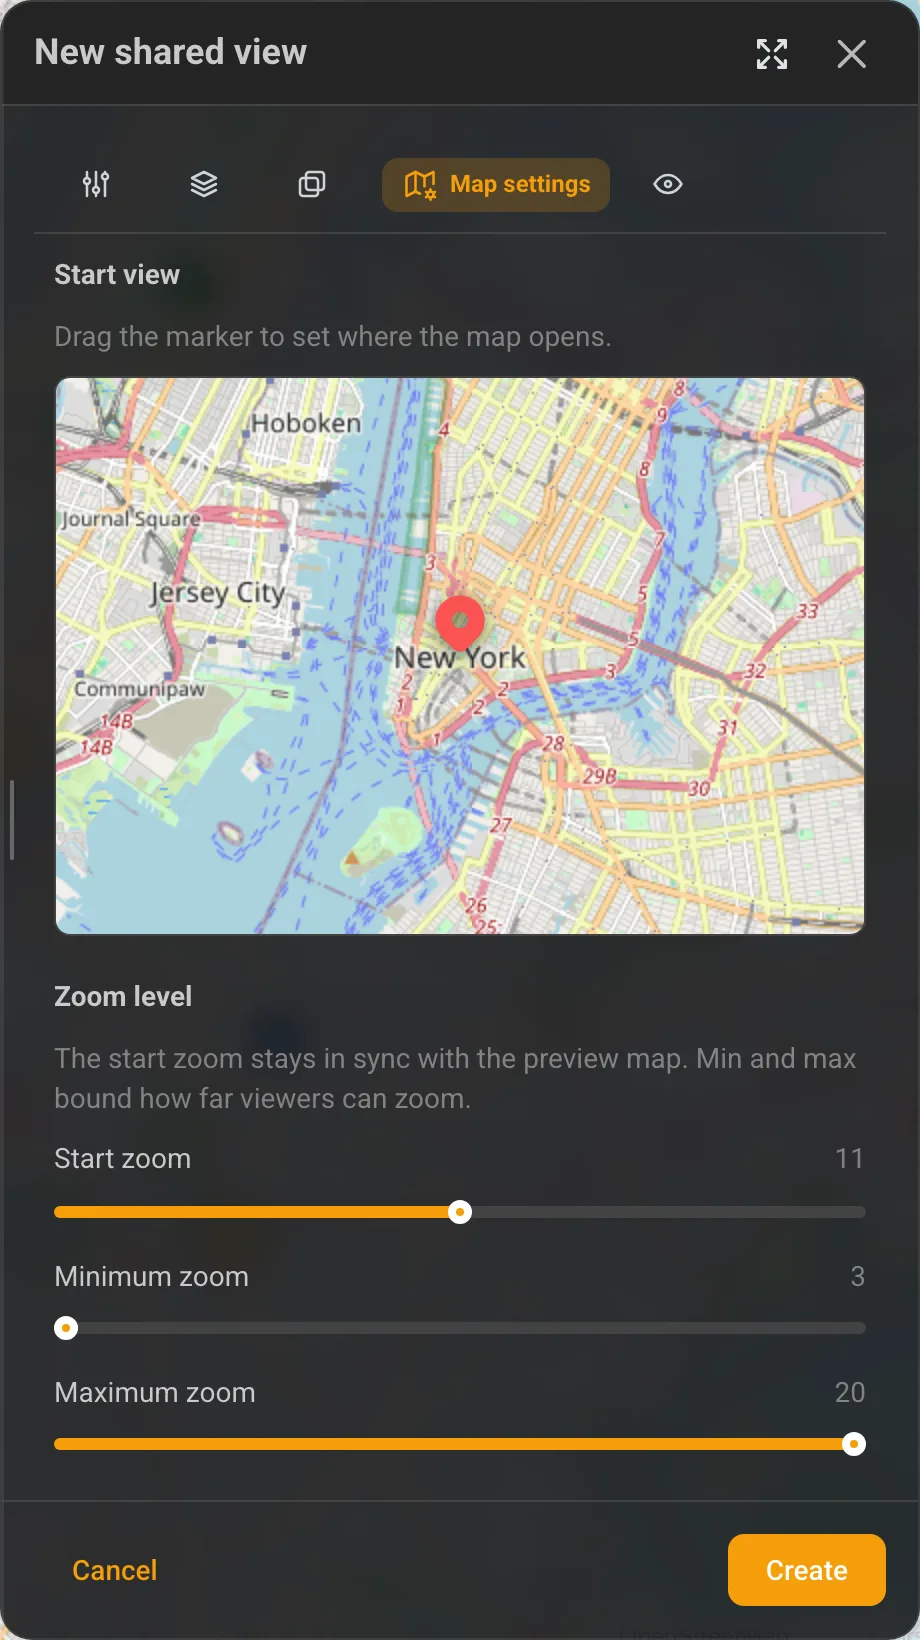
- the start view — drag the marker to set where the map opens.
Map settings
You set the start zoom and the minimum and maximum zoom limits in the recipient’s view.
Visibility
Three toggles decide which details the recipient sees:
- Show personal data — assignees, comment authors and note authors (off by default),
- Show comments — the comment count,
- Show attachments — the attachment count.
By default personal data is hidden. Turn it on only when you actually want recipients to see who is responsible for tasks and who commented on them.
Link and embedding
Copy the finished link with the “Copy link” button and send it through any channel. To embed the map on your own site, use the embed code (iframe) — it’s behind “Show embed code” in the link’s menu.
What the recipient sees
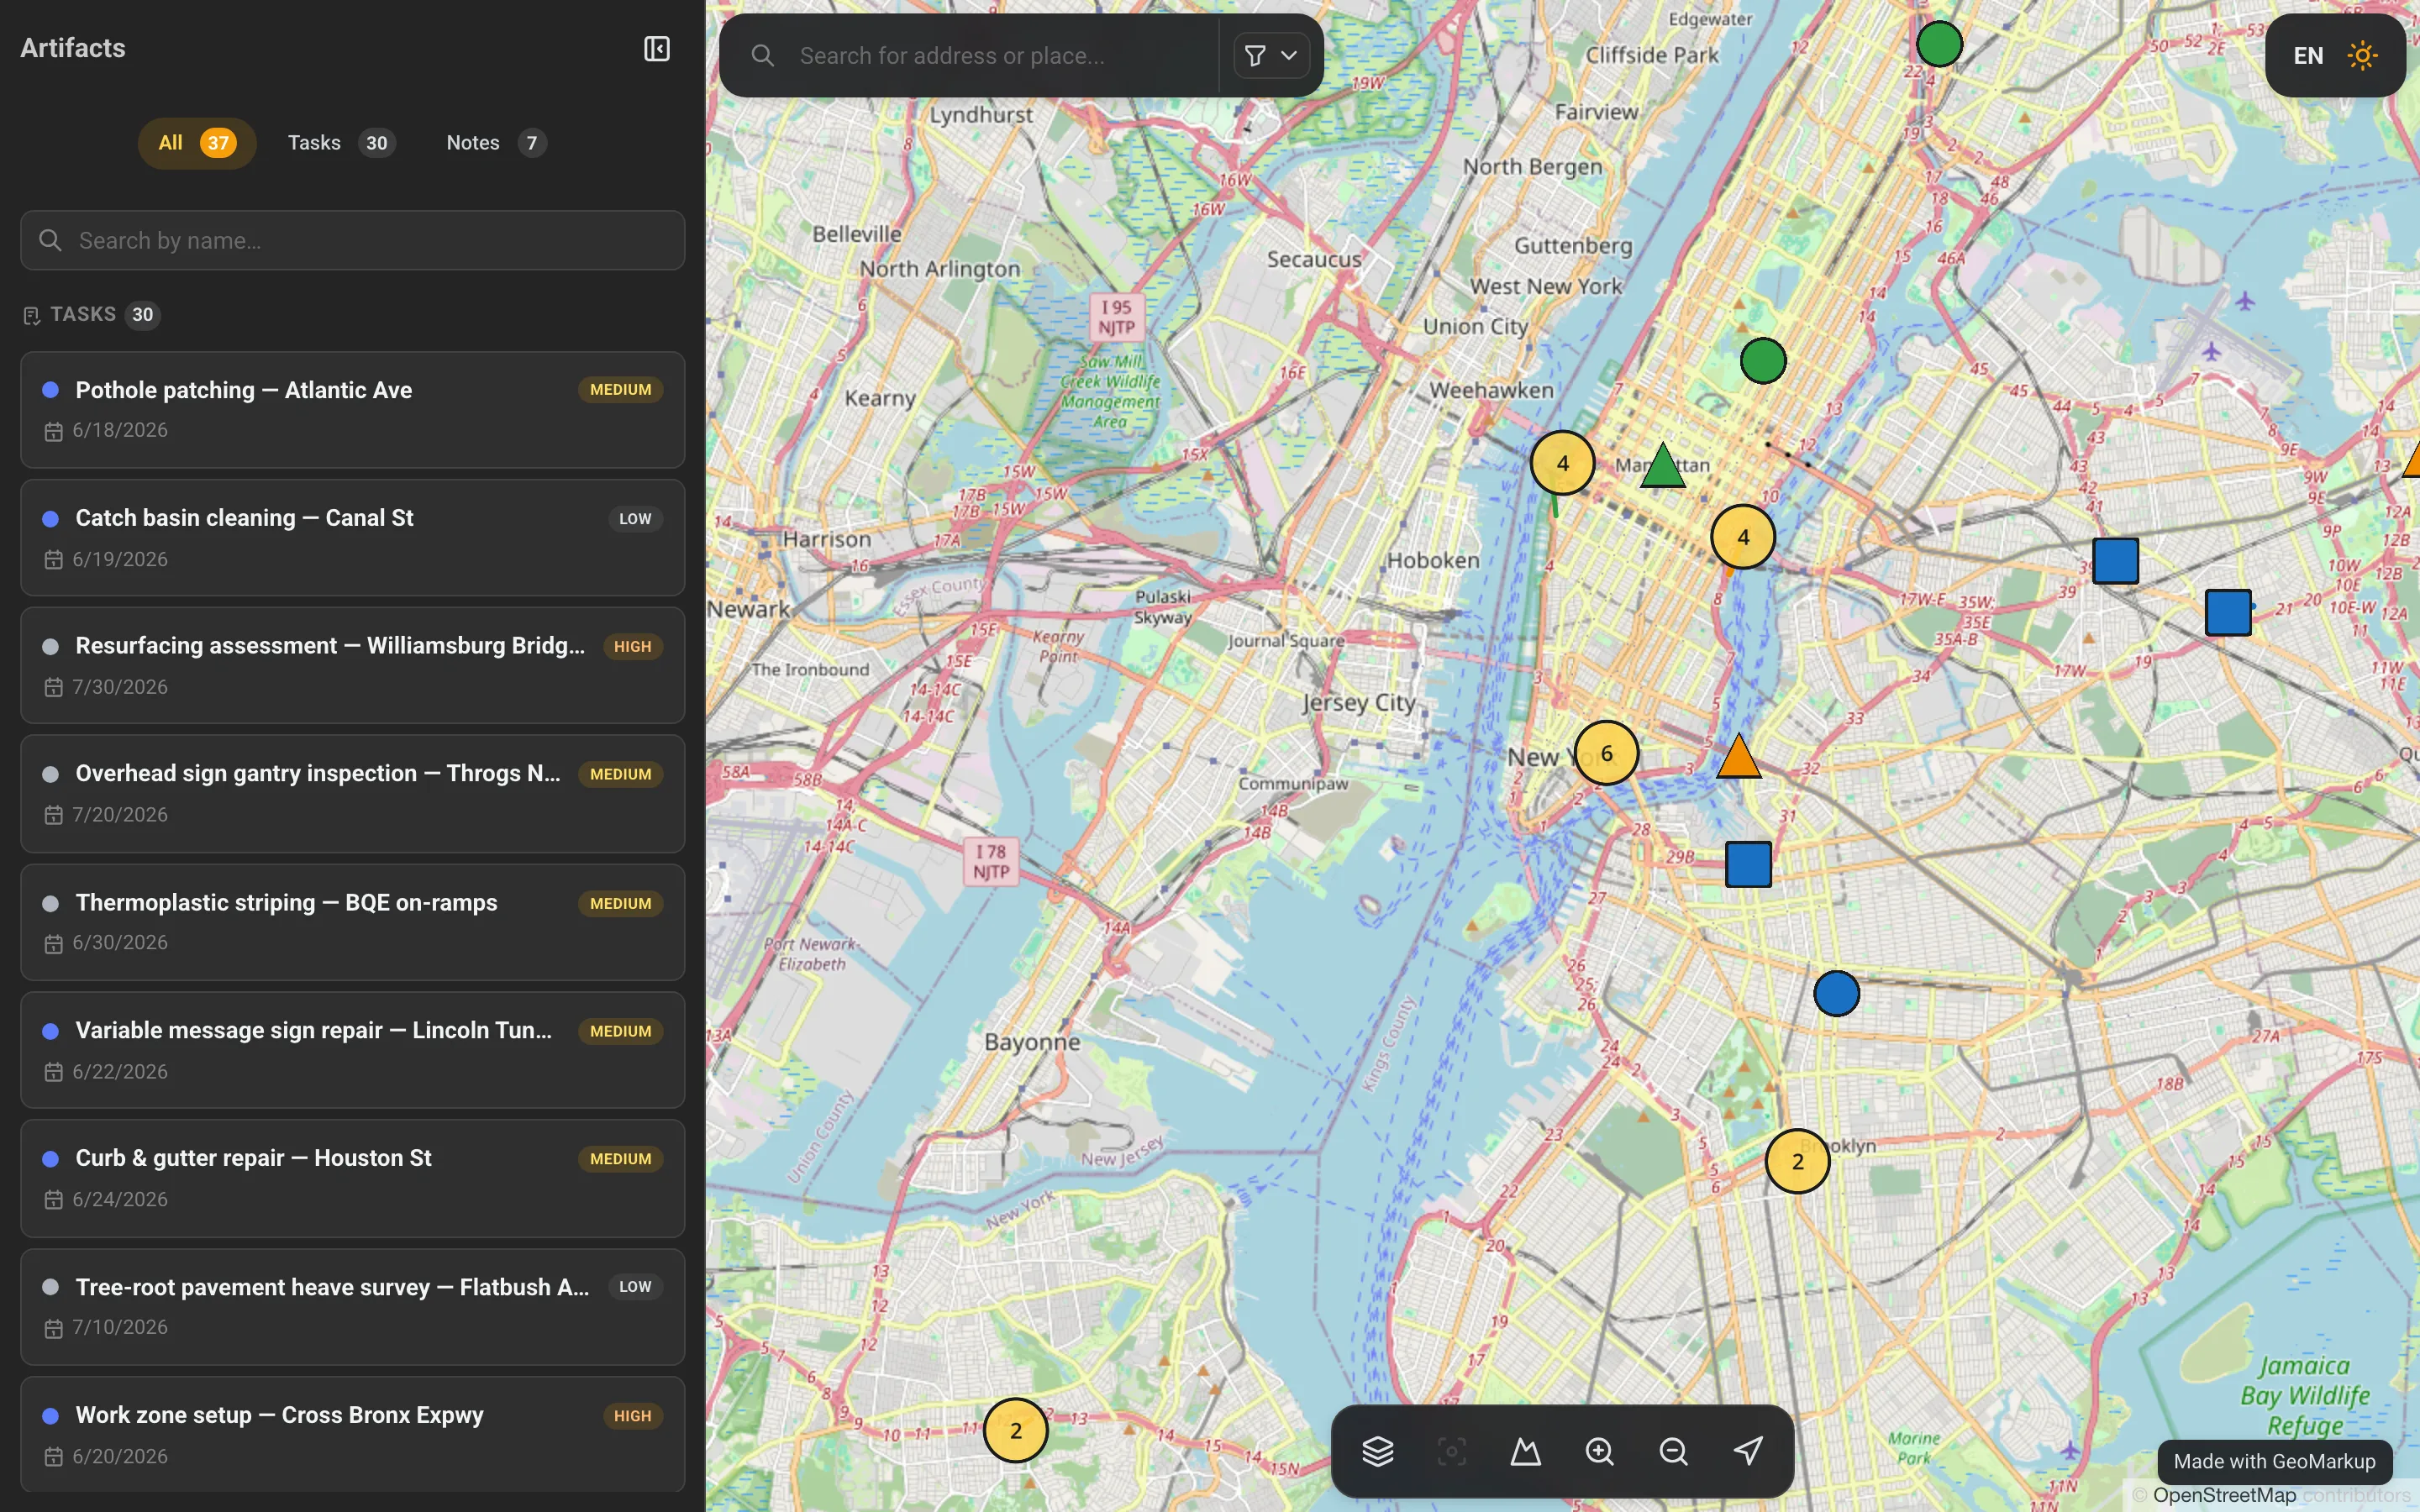
The recipient opens the link without signing in. If the view is password protected, a password gate appears first. The read-only map then loads with the artifact list. The recipient can browse details and apply their own filters, but only within what you shared — your base filters always apply, and the fields disabled in the Visibility tab stay hidden.
Security
- The link works for anyone who has it — treat it like a public address and share it thoughtfully.
- For sensitive data, turn on a password and pass it to recipients through a separate channel.
- When a link is no longer needed, revoke it — it stops working immediately.
For more about the map and its layers see the Map & tools chapter, and for artifacts see Tasks. Term explanations are collected in the Glossary.